In a previous post, I pitched IRL Merit Badges for adults.
I talked about how much I love digital trophies I get from Strava, and how satisfying it is to unlock rare gear in video games. I argued that we need physical badges for running streaks, reading to your kids, or even just going to the dentist.
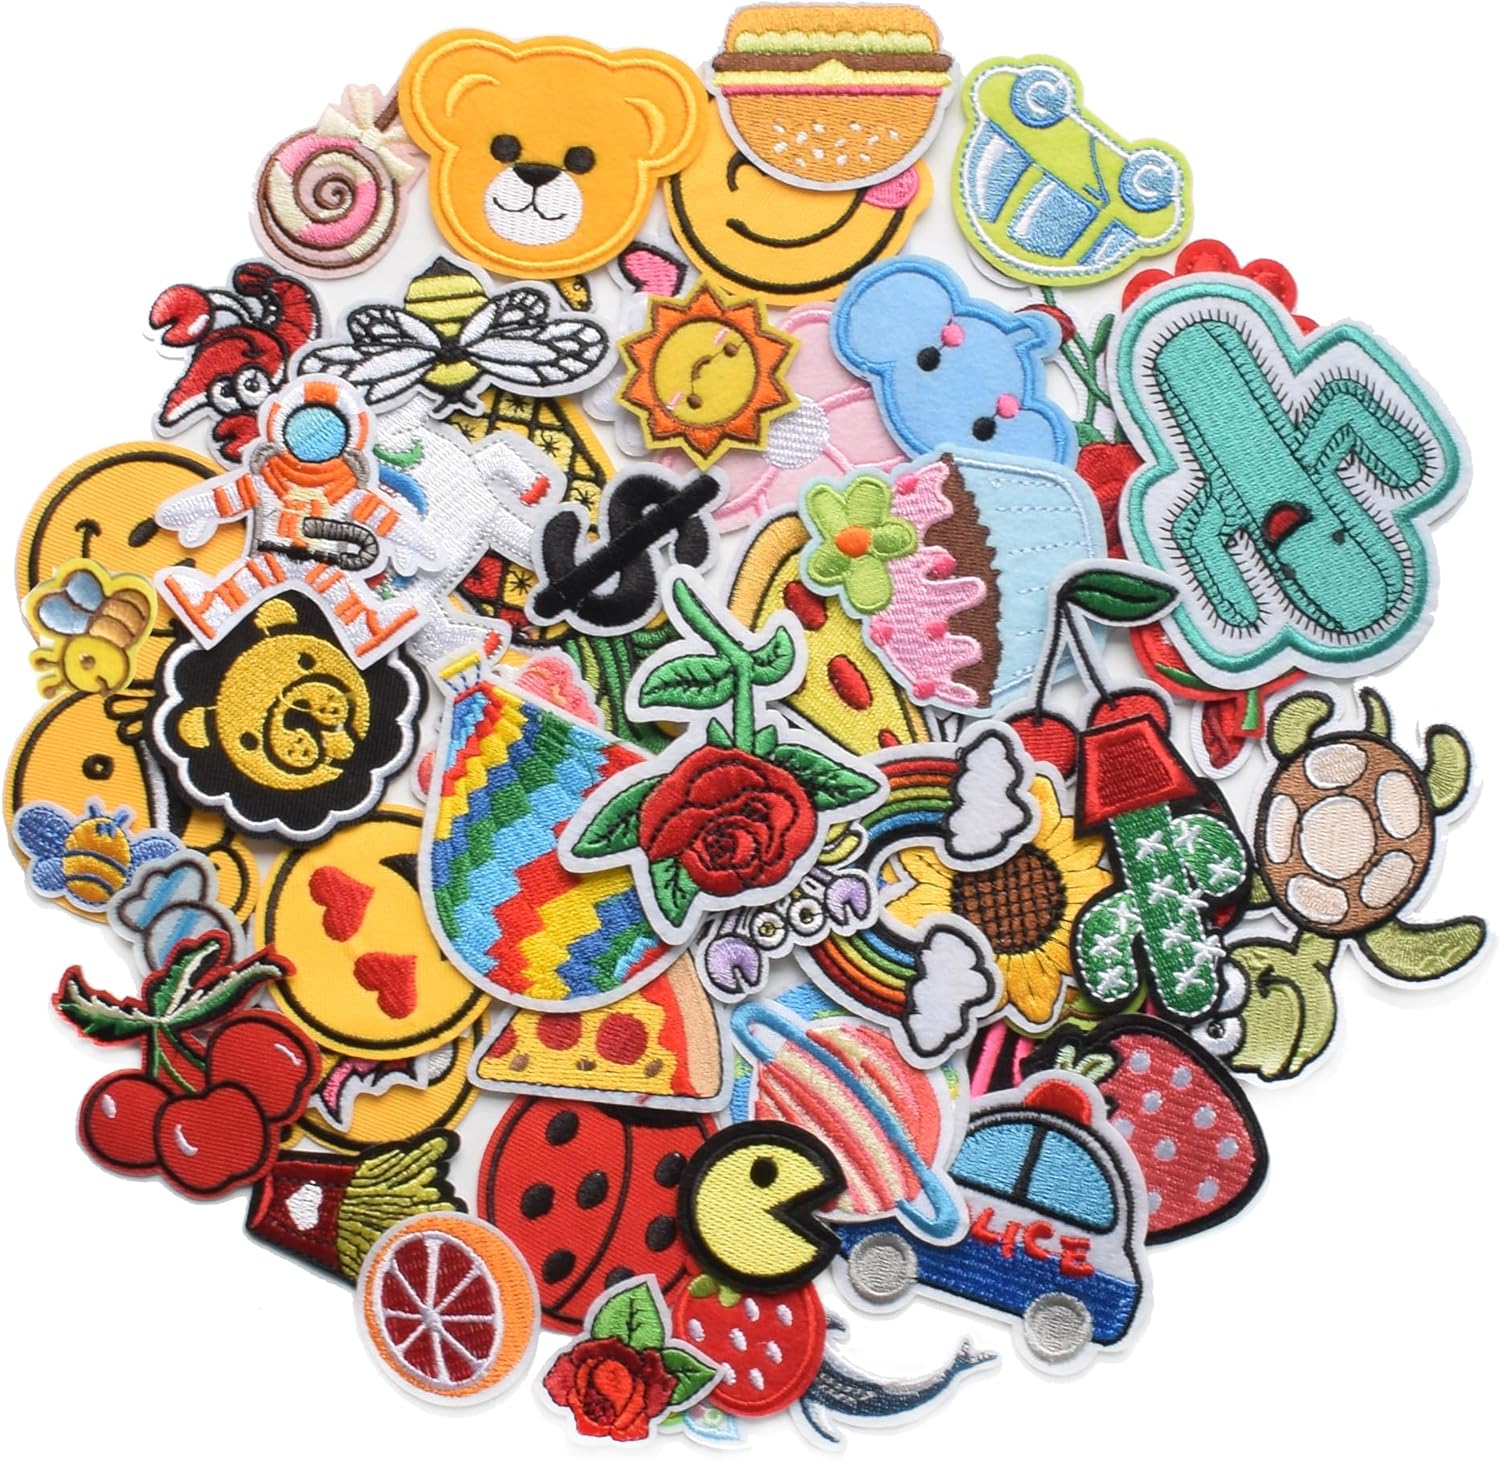
I want to make “Be the Streak” merchandise a reality. If I want to turn my digital trophies into wearable flair, I can’t just buy a machine and press “print.”
The Software
Before I even touch a needle, I have to learn how to talk to the machine. I originally thought you could just feed a JPEG into an embroidery machine, and it would spit out a patch.
Embroidery machines do not simply read JPEG or PNG files. Embroidery machines don’t read pixels. They read coordinates.
There are a couple of software options: Hatch Embroidery provides a reasonable lifetime plan. There also appears to be an Adobe Illustrator plugin.
I will also need to learn about stitch types. I don’t want to just make super basic badges. I need to play with what the machine is capable of to making.
The Hardware
A computerized embroidery machine is essentially a standard sewing machine hooked up to an X/Y axis robotic arm. Although the market isn’t flooded with choices, there are a few brands and few sizes.
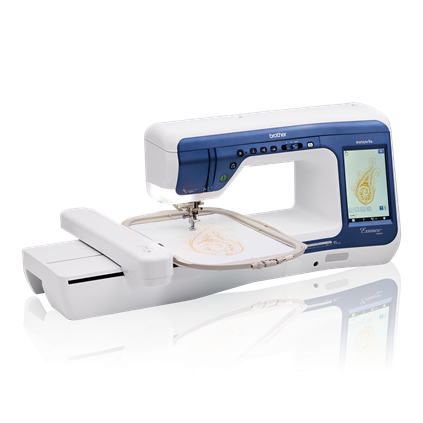
Brother is the biggest played in the game. They have over forty different offerings and can honestly be a little scary to even start.
Janome and Baby Lock also have a number of offerings.
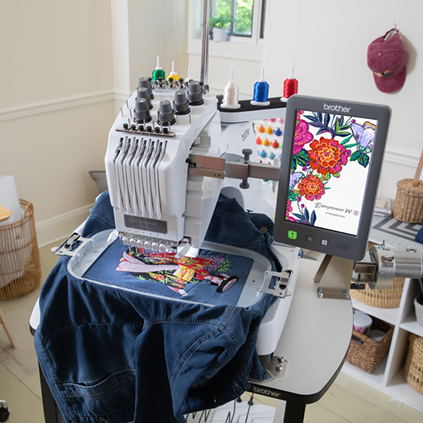
But there are very different levels of scale involved. I’ve been known to go into a hobby overboard. But spending $10K for an embroidery machine is not even on my level of poor decisions. One of the key factors is the number of heads used. If you have the cheapest machine, you will need to change your head out for every color you are wanting to use in your design.
Finishing Touches
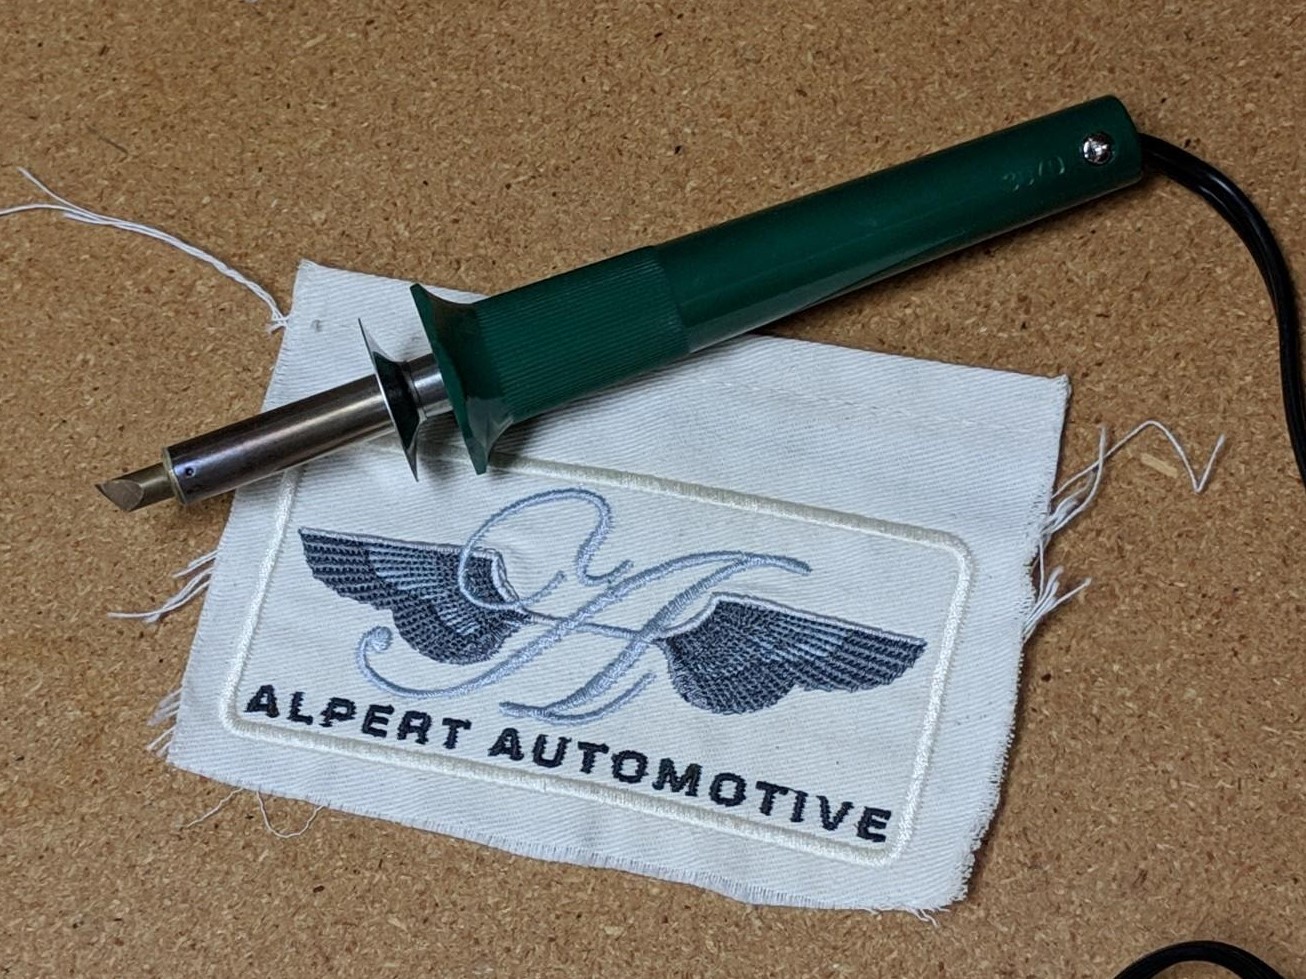
Once the machine makes its last stitch, it’s still not quite a badge. To finish the process, I have to learn how to seal it.
I’ll need an iron-on adhesive backing to iron onto the back of the stitched patch. Then you still need to cut the design out. I’ll either need incredibly sharp micro-scissors to cut as close to the border as possible without snipping the actual stitches, or a tool called a “hot knife” which literally melts the polyester edges to prevent fraying.
The Next Steps
The learning curve looks steep. There are going to be broken needles, tangled bobbin nests, and a lot of mangled test patches.
But thinking back to my Cub Scout days, the best badges were the ones that were hardest to earn.